This tutorial will teach you how to configure your Spring Cloud API Gateway to automatically create routes based on services registered with discovery clients like Eureka, Consul, or Zookeeper.
For a step-by-step series of video lessons, please check this page: Spring Boot Microservices and Spring Cloud.
Enable Discovery Locator
A quick way to enable Spring Cloud API Gateway to route HTTP requests to a Microservice registered with the discovery service is to simply enable the Discovery Locator.
To enable the automatic mapping of routes in your Spring Cloud API Gateway project, open the application.properties file and add the following configuration properties.
spring.cloud.gateway.discovery.locator.enabled = true
spring.cloud.gateway.discovery.locator.lowerCaseServiceId = true
You can skip creating API Gateway routes manually by enabling the discovery locator.
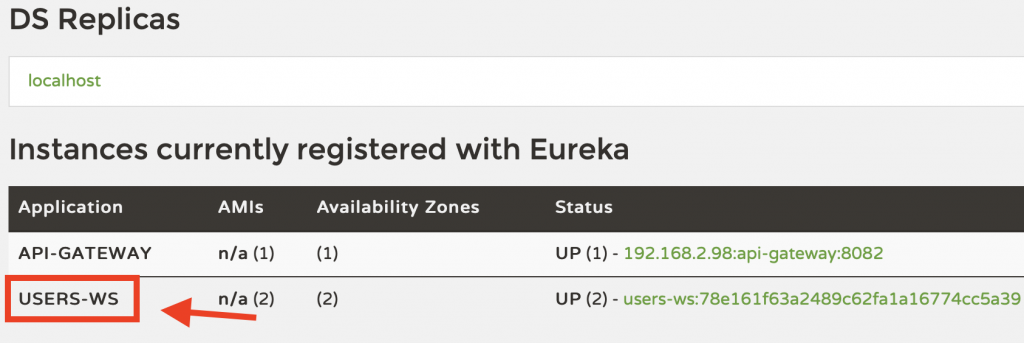
Let’s assume we have a Spring Boot Microservice registered with Eureka with the name “users-ws” as illustrated in the image below.
If you enable Discovery Locator in the application.properties of your Spring Cloud API Gateway, then the HTTP request URL to this microservice will look like in the CURL command below.
curl --location --request GET 'http://localhost:8082/users-ws/check'
Where:
- 8082 – is the port number of which Spring Cloud API Gateway is running,
- users-ws – is an application name of Spring Boot microservice registered with Eureka,
- /check – is a web service endpoint exposed by users-ws microservice.
I hope this short tutorial was of good value to you. If you want to learn more about building RESTful Web Services with Spring Boot and Spring Cloud, check Spring Cloud tutorials on this website.