In this tutorial, you will learn how to create a new Keycloak authorization server user.
For video lessons on how to secure your Spring Boot application with OAuth 2.0. and Spring Security 5, please checkout my complete video course OAuth 2.0. in Spring Boot applications.
To be able to follow this tutorial, you will need to have Keycloak installed and running. To learn how to download and install a standalone Keycloak server, please read the following tutorial first.
You might also be interested to check other Keycloak tutorials.
Creating an Initial Admin User
When you start the Keycloak server for the very first time, there will be no default username and password you can use to access the server. In simple words there is no default admin. You will need to create an initial admin user to be able to log in.
Note: An initial admin user should not be used by applications that you will create and register with this server. You will use an initial admin user to login into your server for the first time, and to create new realms, new applications, and new users. Later in this tutorial, you will also learn how to create a new Realm and new users for that Realm.
There are a couple of ways to create an initial admin user.
- Create an initial user using the Administration page in the browser window,
- Create an initial user using environment variables.
Note: All the command line commands are for Windows OS. For Linux or Mac OS, replace “.bat” with “.sh” and add “./” at the beginning, it will work.
Creating an initial user in the browser
Open the following URL in the browser window.
http://localhost:8080
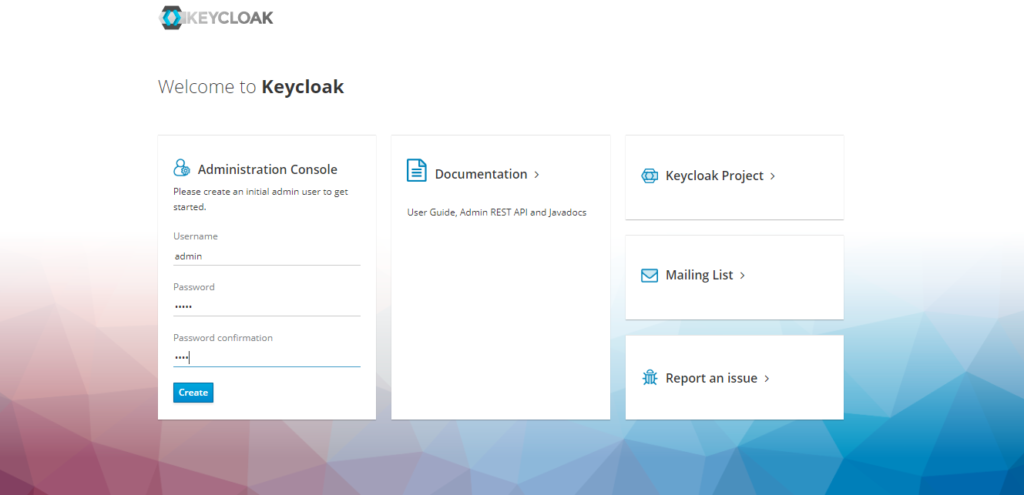
Use the form in the Administration Console section, to create an initial user. At the time of writing this tutorial, the form to create an initial user looks like the one in the image below. For now I have created admin by the user name ‘admin’ and the password ‘admin’. You can choose user name and password of your choice.
Creating an initial user using environment variables
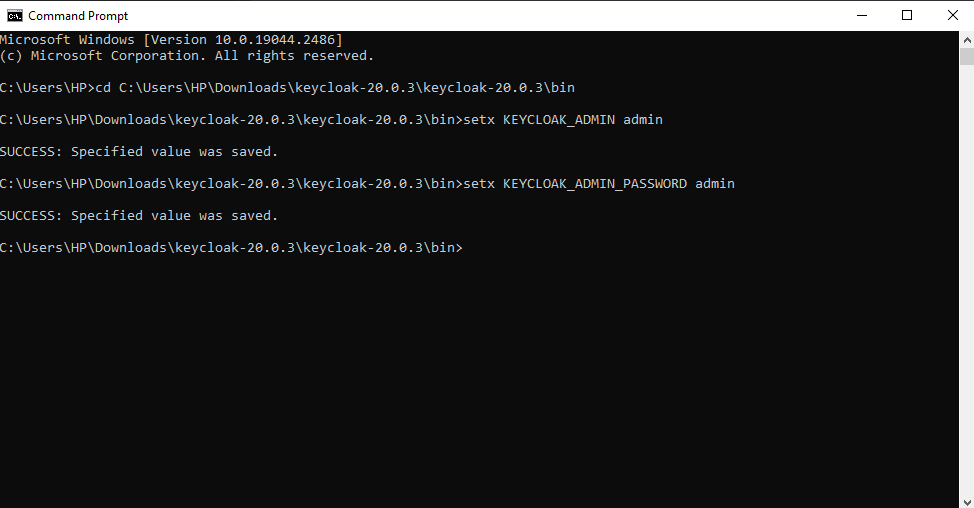
To create the initial administrator account using environment variables, you must configure KEYCLOAK_ADMIN=<username> for the username and KEYCLOAK_ADMIN_PASSWORD=<password> for the password. Keycloak will process these values during its initial launch and create the initial admin user. Once the primary admin user is created, additional users can be added through the use of the admin UI.
In order to do that, open the terminal window or command prompt and change the directory to the Keycloak bin directory. Then write the following commands with your user name and password and hit enter.
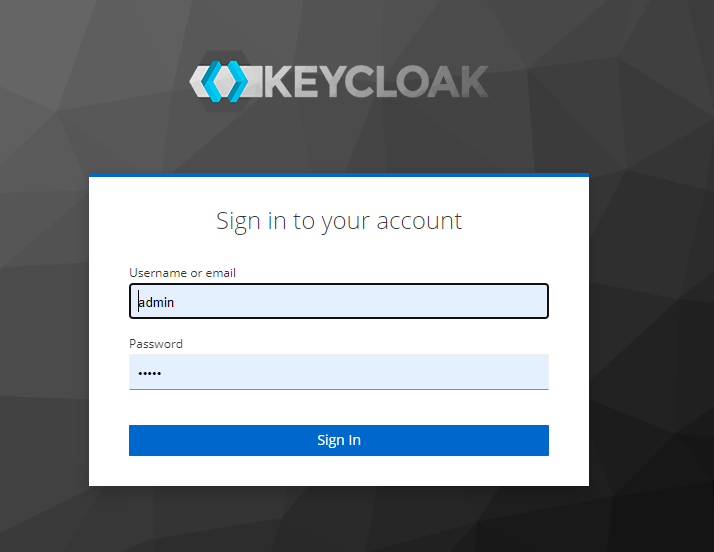
At this point, you need to close and open the command prompt for the environment variable to take effect. Then start the Keycloak server and you should be able to log in to Keycloak’s server master realm.
Note: It is recommended that you do not use the master realm to manage the users and applications in your organization. Reserve the master realm for an admin user. For each new application and its users, create a separate realm.
To login to master realm go to the URL:http://localhost:8080/admin and enter your credentials.
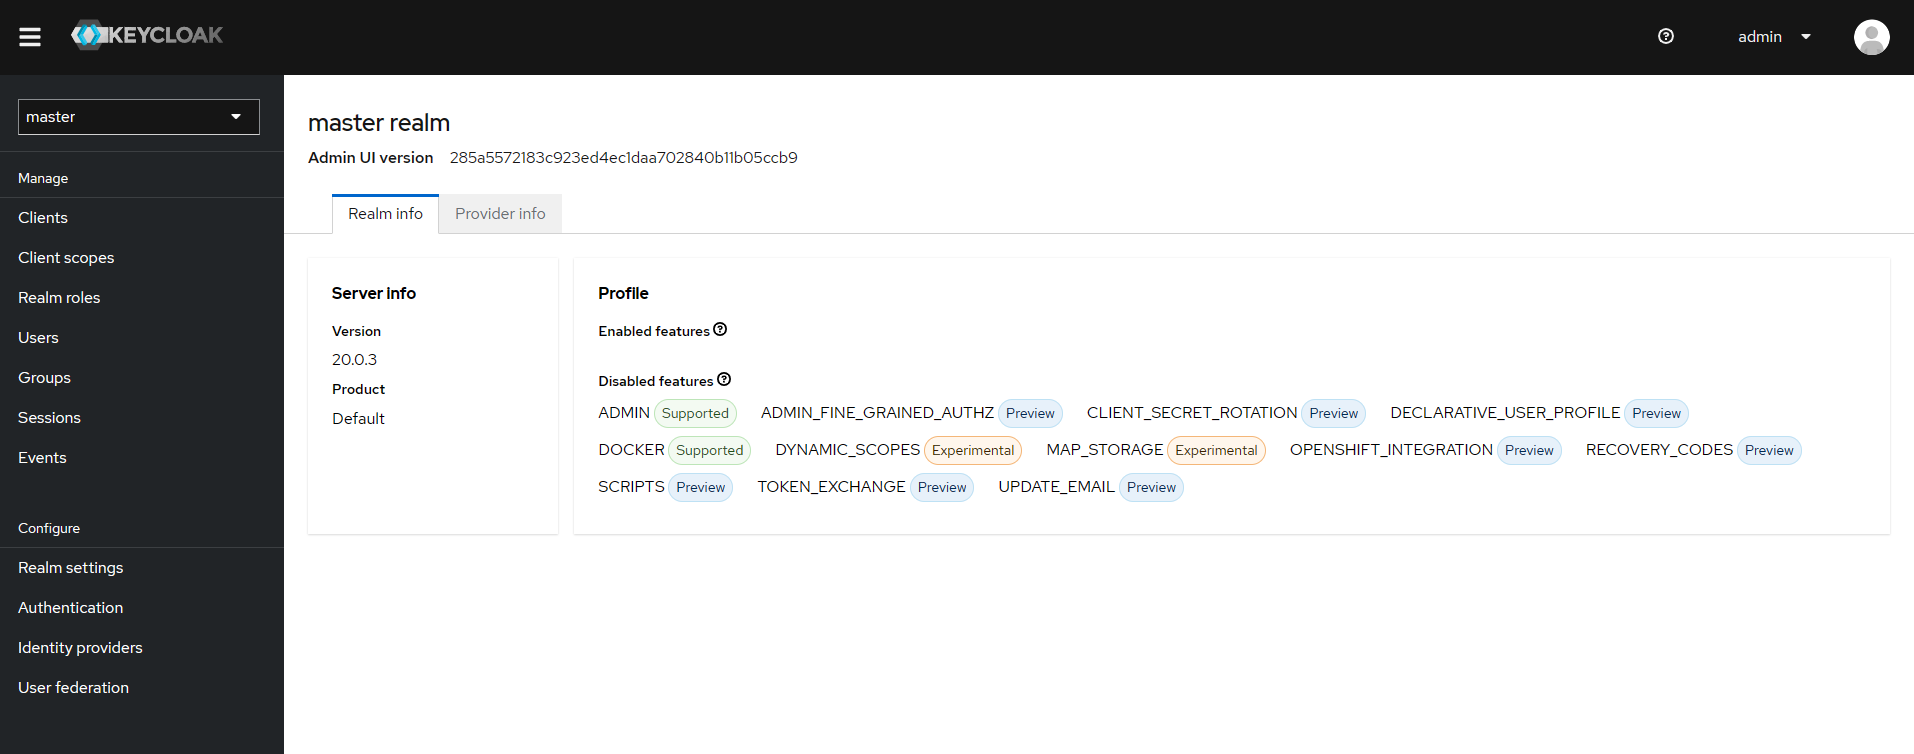
Once you get logged in the page will look like this:
Create a New Realm
The realm is like a tenant in the Keycloak server.
To create a new realm,
- Sign in with an admin user into the admin realm.
- Look for the master drop-down menu and click on Create realm button
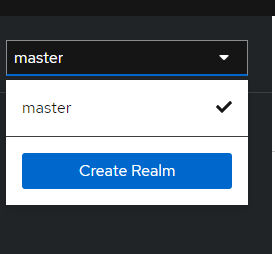
- Type in a name for the new realm and click on the Create button.
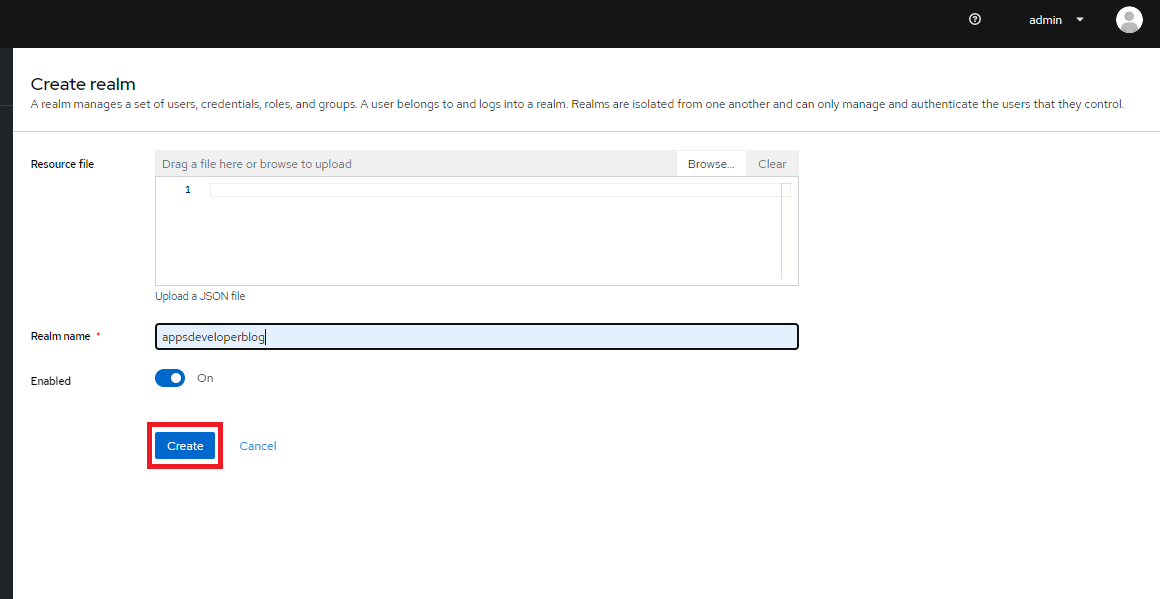
Once the new realm is created, you will be automatically switched to use a new realm.

You can go to Realm settings and can check the different options. Now we start creating new users in the new realm.
Creating a New User
Once you have a new realm created, you can quickly create a new user in it using the browser.
- Open the http://localhost:8080/admin
- Sign in with your Admin username and password,
- Switch to a required realm,
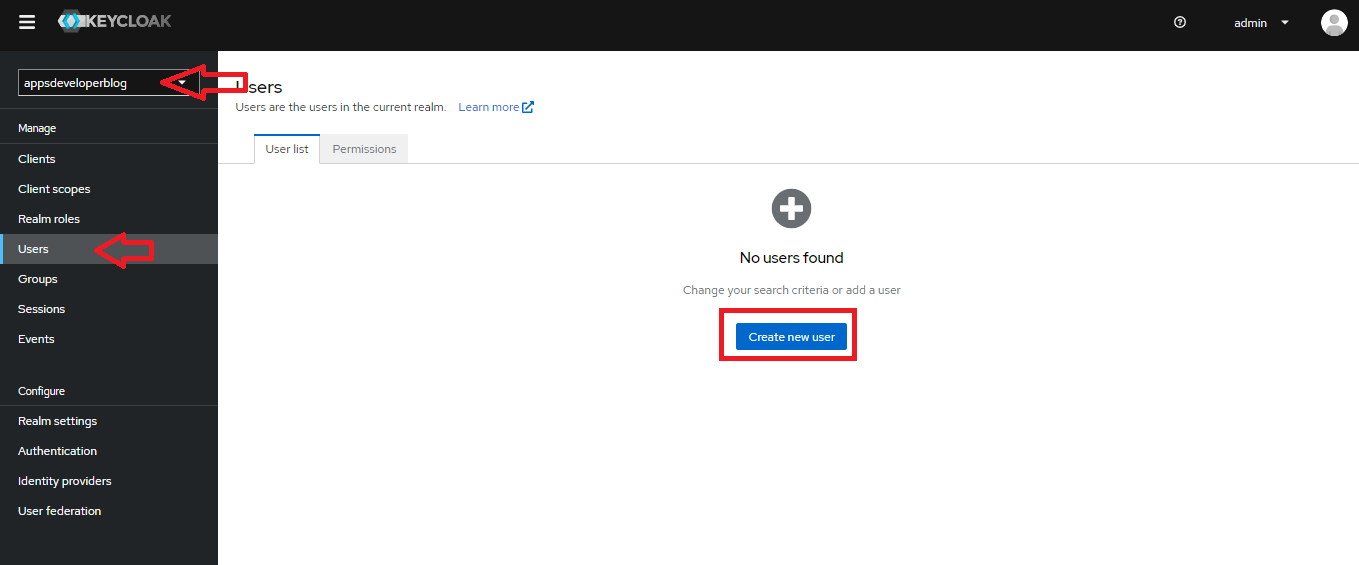
- From the left side navigation menu, select the Users section,
- Create a new user.
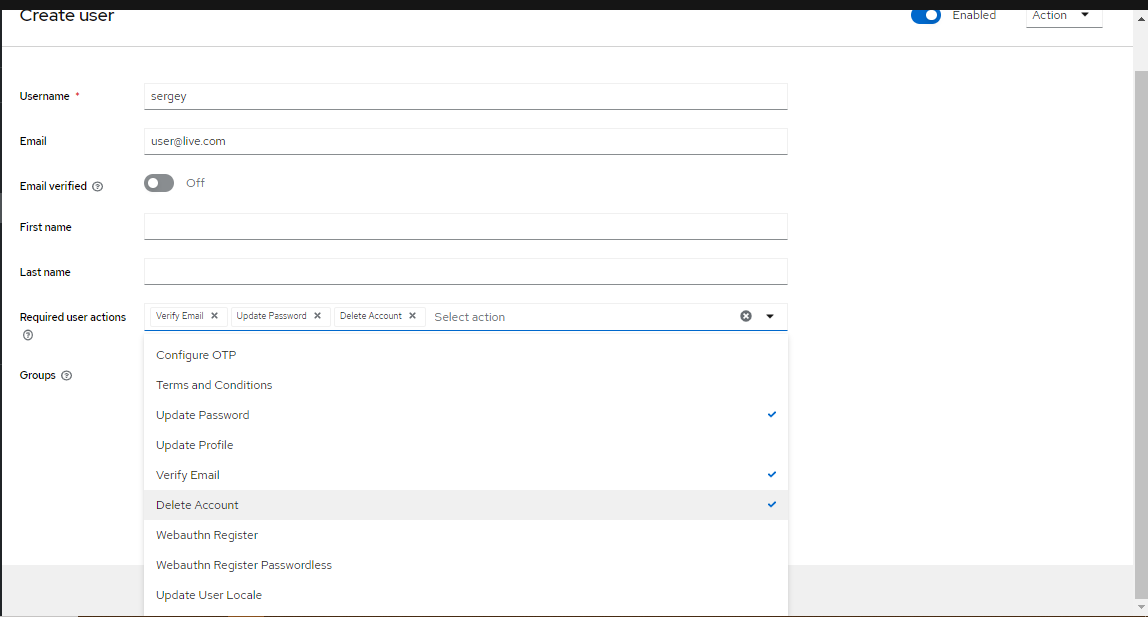
When creating a new user, you might want to specify things like email verification, the option to delete their account etc. Keycloak provide you with different options and you can choose as many as you like.
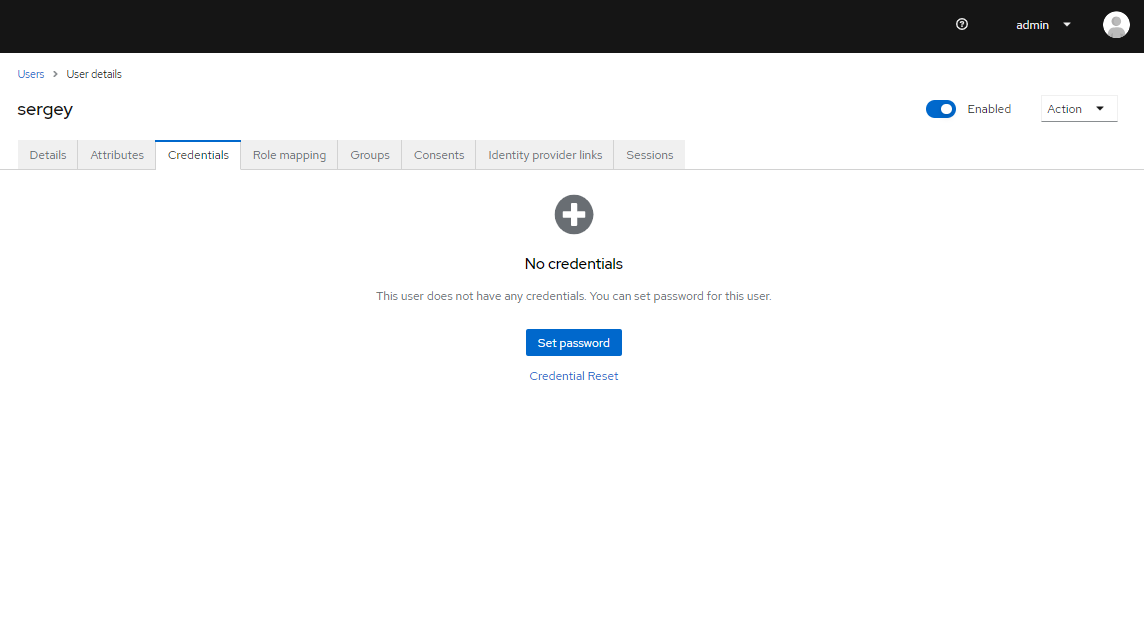
Setting User Credentials
As an Admin, you can assign a new user with their username and password while specifying that these credentials are temporary and that the user will need to change their password.
I hope this short tutorial was of some help to you. If you are interested to learn more, have a look at other Keycloak Server tutorials on this website. There is more to learn.
Happy learning 🙋🏻♂️