In this tutorial, you will learn how to create UILabel programmatically using a specific height, width, and position as well as using an auto layout. To write Swift code I will use Xcode Playground and if you are interested to learn how to create a new Xcode Playgrounds project, have a look at this tutorial – How to use Xcode Playgrounds to create UI in Swift.
UILabel Programmatically with Specific Height, Width, and Position
To create UILabel with Specific X and Y position as well as Height and Weight, we will use a CGRect() class.
let label = UILabel()
label.frame = CGRect(x: 150, y: 150, width: 100, height: 20)
In this code example above a new UILabel will be created with the following details:
- x – is the position of UILabel from the Left side. The value in the code snippet above is set to 150,
- y – is the position of UILabel from the Top. The value in the code snippet above is set to 150,
- with and height – is the with and height of UILabel.
Don’t forget to add a label to its supper view as a Subview.
view.addSubview(label)
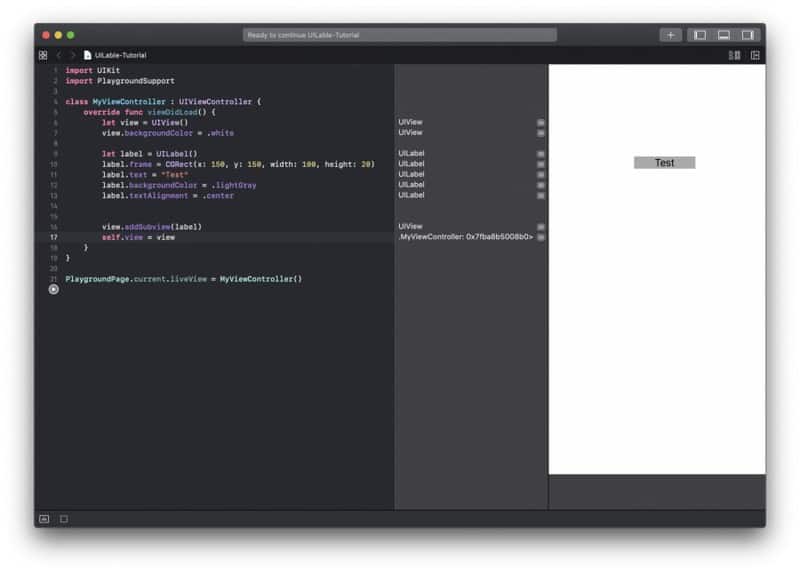
The below code snippet that creates a new UILabel programmatically and adds to a UIView. Also, the below code snippet was created in Xcode Playground.
UILabel with Auto Layout
In the following Swift code example we will create a new UILabel programmatically and this time we will use the NSLayoutConstraint to position the UILabel as a Subview and set its width and height.
Notice that the height and the topAnchor of the label are set to a constant but the label width will be calculated automatically because of leadingAnchor and trailingAnchor.
In the code example below:
- myLabel.leadingAnchor.constraint – will make the left side of the label, stick to its superview on the left and,
- myLabel.trailingAnchor.constraint – will make the right side of the label stretch all the way to the right until its superview.
let myLabel = UILabel()
myLabel.translatesAutoresizingMaskIntoConstraints = false
myLabel.text = "Upper label"
myLabel.textAlignment = .center
myLabel.backgroundColor = .lightGray

let margineGuide = view.layoutMarginsGuide

NSLayoutConstraint.activate([
    myLabel.topAnchor.constraint(equalTo: margineGuide.topAnchor, constant: 20),
    myLabel.leadingAnchor.constraint(equalTo: margineGuide.leadingAnchor),
    myLabel.heightAnchor.constraint(equalToConstant: 40),
    myLabel.trailingAnchor.constraint(equalTo: margineGuide.trailingAnchor)
    ])
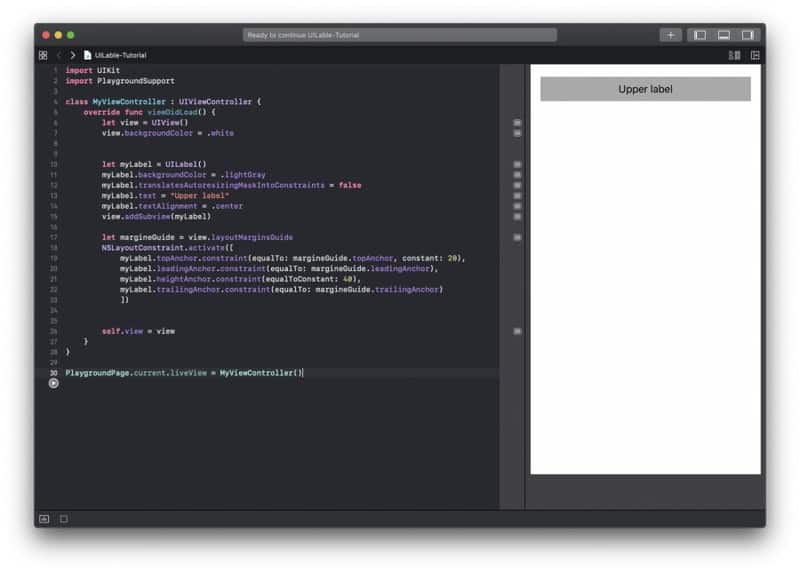
Here is how this code snippet looks and works in Xcode Playground.
I hope this short Swift code tutorial was helpful to you. Have a look at other Swift tutorials and code examples on this web site by checking the Swift category.