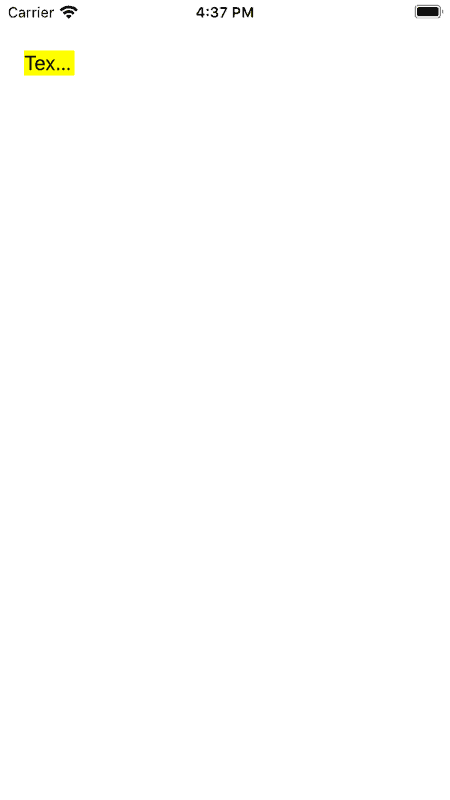
In this tutorial, you will learn how to make UILabel automatically adjust its width to make the text fit. When the text on UILabel is longer than the width of the UILabel it does not fit. Below is an example of a UILabel with a text that does not fit.
If you are interested in video lessons on how to write Unit tests and UI tests to test your Swift mobile app, check out this page: Unit Testing Swift Mobile App
When Text Does Not Fit on Label

Make UILabel Fit Text
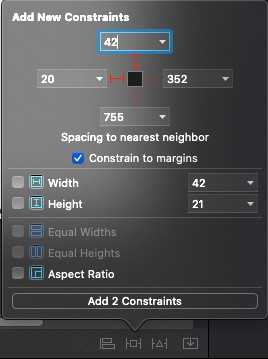
To make UILabel adjust its width to fit the text, I will use auto-layout constraints. I will select UILabel on the view and will add two new constraints: Top and Leading constraints.

Now with the two new constraints added, I can open Swift code editor and set a longer text to UILabel.
import UIKit

class ViewController: UIViewController {

    @IBOutlet weak var myLabel: UILabel!

    override func viewDidLoad() {
        super.viewDidLoad()
        myLabel.backgroundColor = UIColor.yellow
        myLabel.text = "Text on label"
    }
}
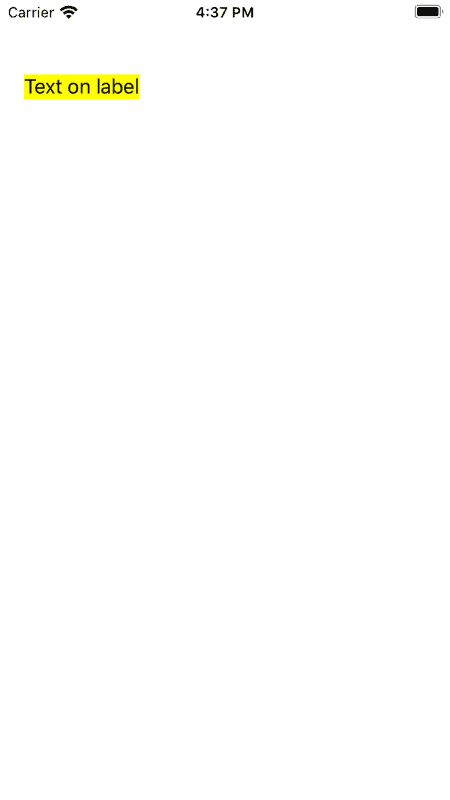
If I run my application now, the label should adjust its width to fit the text. Notice, that I did not need to set width size. Adding the Top and the Leading constraints was sufficient enough.

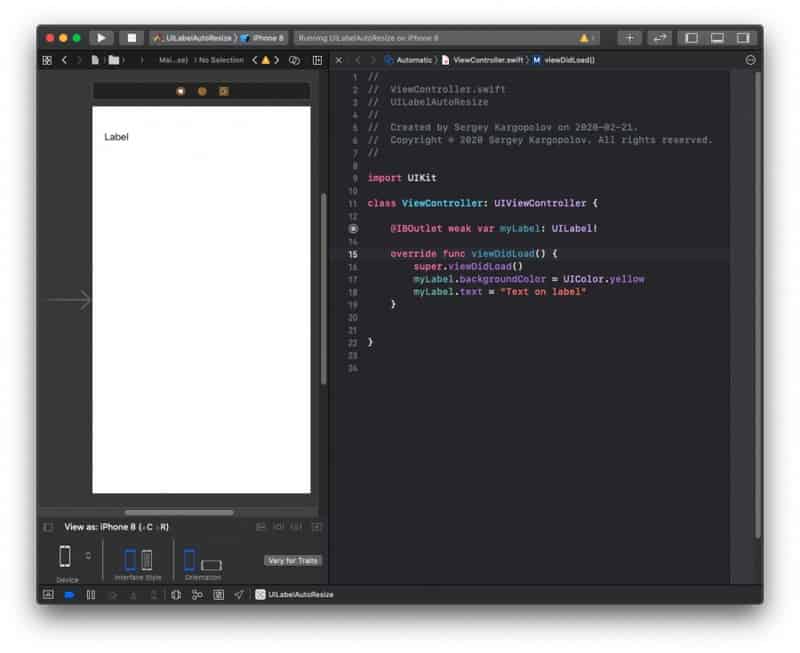
Here is how it all looks in my Xcode project.

I hope this short tutorial was of some value to you. Have a look at other Swift tutorials on this blog and you might find more helpful tutorials that you will like.
Thank you very much, its a good tip..