In this Spring Security tutorial, you will learn how to enable Basic Authentication for your Spring Boot project and configure the default username, password and user role. You will also learn how to secure a web service request URL so only authenticated users with a default username, password and role can access it.
If you use Spring Framework and OAuth, you might also be interested in learning how to implement the Role-Based access control with the new Spring Authorization Server.
Create a Simple Spring Boot Project
I assume you already have your Spring Boot project created but if you do not, here is a very short tutorial on creating a simple Spring Boot project with Spring Initializr.
Add Spring Security
To add Spring Security to your Spring Boot project, open the pom.xml file and add the following dependency:
<dependency>
 <groupId>org.springframework.boot</groupId>
 <artifactId>spring-boot-starter-security</artifactId>
</dependency>
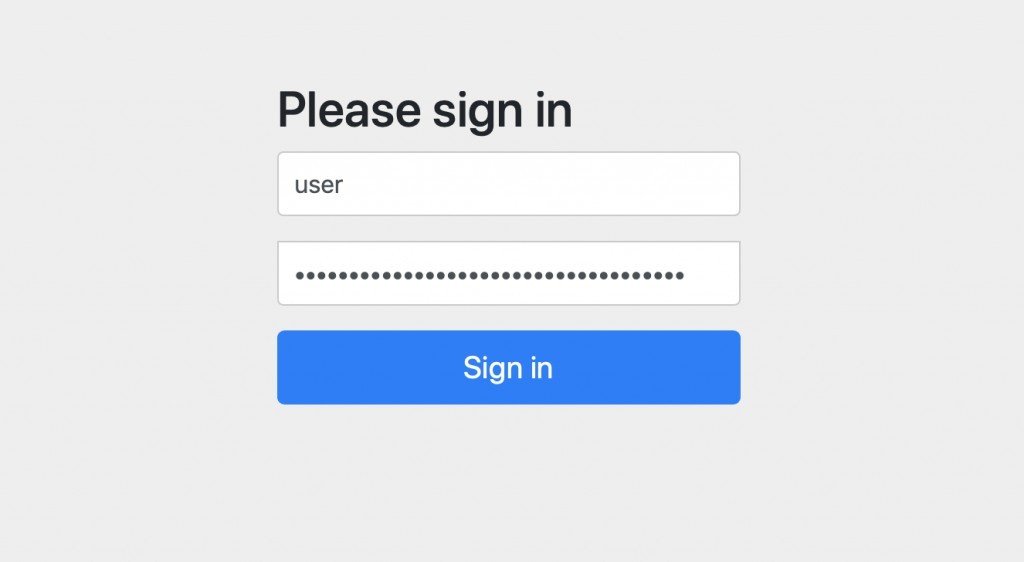
Once you add the above dependency to your pom.xml project, build and run it, you will notice that all your project’s URLs become secured and require a default username and password to be provided. If you attempt to access one, you will be prompted with a login form:

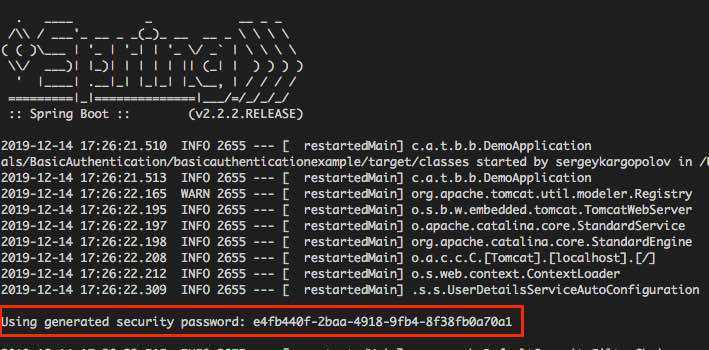
The default username is: user and the default password will be printed in the console at the time when your Spring Boot project starts.

Configure Default Username, Password and Role
To configure the default username, password and role, open application.properties file of your Spring Boot project and add the following three properties with the values you prefer.
spring.security.user.name=sergey
spring.security.user.password=sergey
spring.security.user.roles=manager
The above properties will change the default username, password and role. Restart your Spring Boot project and try the new username and password you have set. Also, once you have set a custom password for the default user, you will notice that a default Spring Security password is no longer generated and printed in the console.
Secure Specific URLs
You can secure specific URLs of your application and make them accessible by users of a specific Role only. For example, in the application.properties file above, we have configured the Role of a default user to be a manager. Let’s now configure access for a specific URL in our application so that only a user with the role “manager” can access it.
In your Spring Boot project, create a new Java class and:
- Annotate it with @EnableWebSecurity annotation,
- Annotation class with @Configuration annotation,
- Implement the configure(HttpSecurity http) method like in the example below;
import org.springframework.security.config.annotation.web.builders.HttpSecurity;
import org.springframework.security.config.annotation.web.configuration.EnableWebSecurity;
import org.springframework.context.annotation.Bean;
import org.springframework.context.annotation.Configuration;
import org.springframework.security.web.SecurityFilterChain;


@Configuration
@EnableWebSecurity
public class WebSecurity{

    @Bean
    public SecurityFilterChain configure(HttpSecurity http) throws Exception {
         http
        .cors().and()
        .csrf().disable().authorizeHttpRequests()
        .requestMatchers("/users").hasRole("manager")
        .anyRequest().authenticated()
        .and()
        .formLogin();

         return http.build();
    }
}
In the code example above, I am securing the /users web service endpoint of my Spring Boot application and making it accessible to users with “manager” role only. You might also use method-level security annotations to secure Rest Controller endpoints.
I hope this tutorial was helpful to you. If you want to learn more about Spring Security, check out my online video courses. One of these video courses might help you speed up your learning progress.
Very straight forward guide. Thank you