Installing an SSL certificate on a Bitnami stack for Lightsail is a simple process that can be completed in just a few steps. In this blog post, we will walk you through the process of installing an SSL certificate on your Bitnami stack for Lightsail.
You can use the generated SSL certificate for your LAMP or WordPress website on Lightsail. The good news is that the generated SSL certificate will be automatically installed for you. You do not need to open any files and manually configure your web server for HTTPS communication.
Step 1. Connect to Your Instance on Lightsail
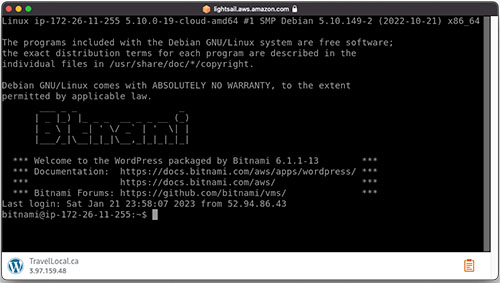
The first step is to sign in to your AWS Lightsail account. Then select an instance on which you want to generate an SSL certificate and click on Connect button to connect to this instance via SSH.
You should see a similar screen.

Step 2. Generate SSL Certificate with bncert-tool
To generate an SSL certificate for a domain name you own, Bitnami uses a tool that is called bncert-tool.
The bncert-tool will start a wizard where you will be asked a few questions. During this session, bncert-tool will perform the following:
- Configure HTTPS certificate,
- Create automatic certificate renewal,
- Sets up HTTP to HTTPS redirection.
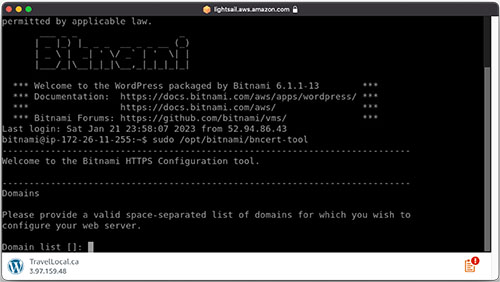
To execute bncert-tool, run the following command in the SSH terminal:
sudo /opt/bitnami/bncert-tool
This will initiate the Bitnami HTTPs Configuration tool, which will prompt you to provide a valid space-separated list of domains for which you want to configure your web server.

If there is only one domain name that you want to configure for HTTPs communication, then provide one domain name only. You will be asked a few more questions after which your web service will be automatically configured for HTTPs communication. You do not need to download and install the certificate manually. All configurations will be performed for you automatically.
I hope this tutorial was helpful to you!
If you are interested to learn more about AWS, check out my other Amazon Web Services tutorials.