In this tutorial, I will share with you how to secure Spring Cloud Eureka dashboard with Spring Security.
To learn how to build RESTful Microservices with Spring Cloud by watching step-by-step video lessons, please check this page: Spring Boot Microservices and Spring Cloud.
Add Spring Security to Eureka
To secure Eureka with Spring Security, we will need to add Spring Security dependency to a pom.xml file of our Eureka Discovery Server Spring Boot project. Open the pom.xml file of your Eureka Discovery Server project and add the following dependency.
<dependency>
    <groupId>org.springframework.boot</groupId>
    <artifactId>spring-boot-starter-security</artifactId>
</dependency>
Eureka Discovery Server Application Properties File
Once you have added the Spring Security dependency to the pom.xml file, as shown above, open application.properties file of your Eureka Discovery Server and add the following configuration properties:
spring.security.basic.enabled=true
spring.security.user.name=theusername
spring.security.user.password=thepassword
Configure HttpSecurity
The next step is to configure the HttpSecurity object in Eureka Discovery Server. To do that, create a new Java class and make it extend WebSecurityConfigurerAdapter, as it is shown in the example below. Override the configure() method and configure the HttpSecurity object, as shown below.
Note: WebSecurityConfigurerAdapter is depricated. Read the following tutorial to learn how to migrate from a depricated WebSecurityConfigurerAdapter.
import org.springframework.context.annotation.Bean;
import org.springframework.context.annotation.Configuration;
import org.springframework.security.config.annotation.web.builders.HttpSecurity;
import org.springframework.security.config.annotation.web.configuration.EnableWebSecurity;
import org.springframework.security.web.SecurityFilterChain;

@Configuration
@EnableWebSecurity
public class WebSecurity {

    @Bean
    public SecurityFilterChain configure(HttpSecurity http) throws Exception {
        http.csrf().disable()
                .authorizeHttpRequests()
                .anyRequest().authenticated()
                .and()
                .httpBasic();
        return http.build();
    }
}
In the code above we configure authorization rules for incoming HTTP requests to our application.
- The method
authorizeHttpRequests()returns an instance ofExpressionInterceptUrlRegistrythat provides methods for defining authorization rules for URL patterns. I am not going to configure any specific URL patterns here and this will mean that the configuration will apply to all request URLs. - The method
anyRequest()specifies that the authorization rule should apply to any incoming HTTP request that matches the previously defined URL pattern. - The method
authenticated()specifies that the authenticated user is required to access the requested URL. If the user is not authenticated, the request will be denied and the user will be redirected to the login page.Therefore, the combination ofauthorizeHttpRequests()withanyRequest().authenticated()configures Spring Security to require authentication for any incoming HTTP request, regardless of its URL pattern. .httpBasic()is a method in Spring Security that configures HTTP Basic authentication for the application.When.httpBasic()is called in Spring Security configuration, it sets up the application to use HTTP Basic authentication. If client application does not provide username and password to access Eureka, then the request will be denied with HTTP response code “401 Unauthorized”.
Overall, this configuration is a common way to ensure that only authenticated users are allowed to access protected resources of our application.
Do not forget to annotate this class with @EnableWebSecurity and @Configuration annotations.
Eureka Discovery Server is now protected with Spring Security and is ready to be used.
If you attempt to open the Eureka dashboard in the browser window now, you should be prompted to provide a username and a password first.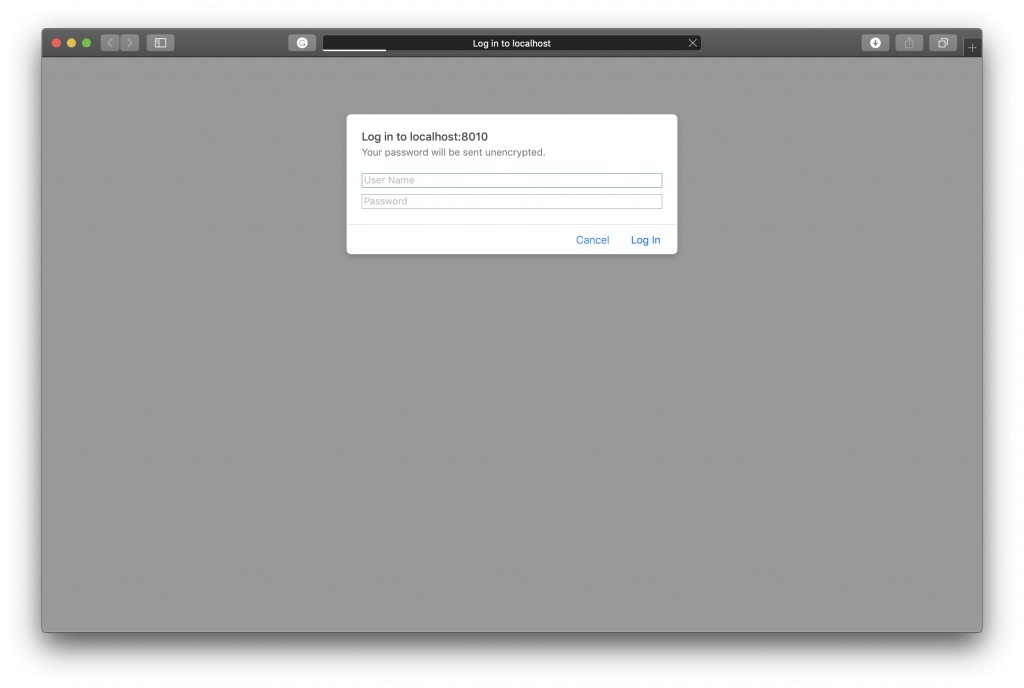
Eureka Client Configuration
To make your Microservices and other Eureka clients able to authenticate with Eureka and register with it, add the following configuration properties to application.properties file of your Eureka Client:
eureka.client.serviceUrl.defaultZone=http://theusername:thepassword@localhost:8010/eureka
Notice that the Eureka Default Zone URL now has the username and password added. If the username and the password match the ones you have configured in the application.properties file of your Discovery Server, then your Eureka Client should be able to successfully authenticate and register.
I hope this tutorial was helpful to you.
Spring Cloud Video Course
If you are interested in learning more about building RESTful Web Services with Spring Boot and Spring Cloud and enjoy learning by watching step-by-step video lessons, then look at this video course: Spring Boot Microservices and Spring Cloud.

Happy learning!
Hello, excellent post!
I had a 401 error when the Eureka discovery client attempts to register the service. I changed the “configure” method in the WebSecurity class and also commented on my solution at https://github.com/spring-cloud/spring-cloud-netflix/issues/2923
Thanks for the post